Fall 2019 and just finished another harvest.

I'm often asked, "how do you know if they're ripe and ready to be picked?"
On some plants when the husk starts to change color to a darker tone it's a good indication that they are close to being ready.

Another indication is when the nut turns a dark brown as shown in this picture.

On this plant the juicy husk begins to dry up and change color.

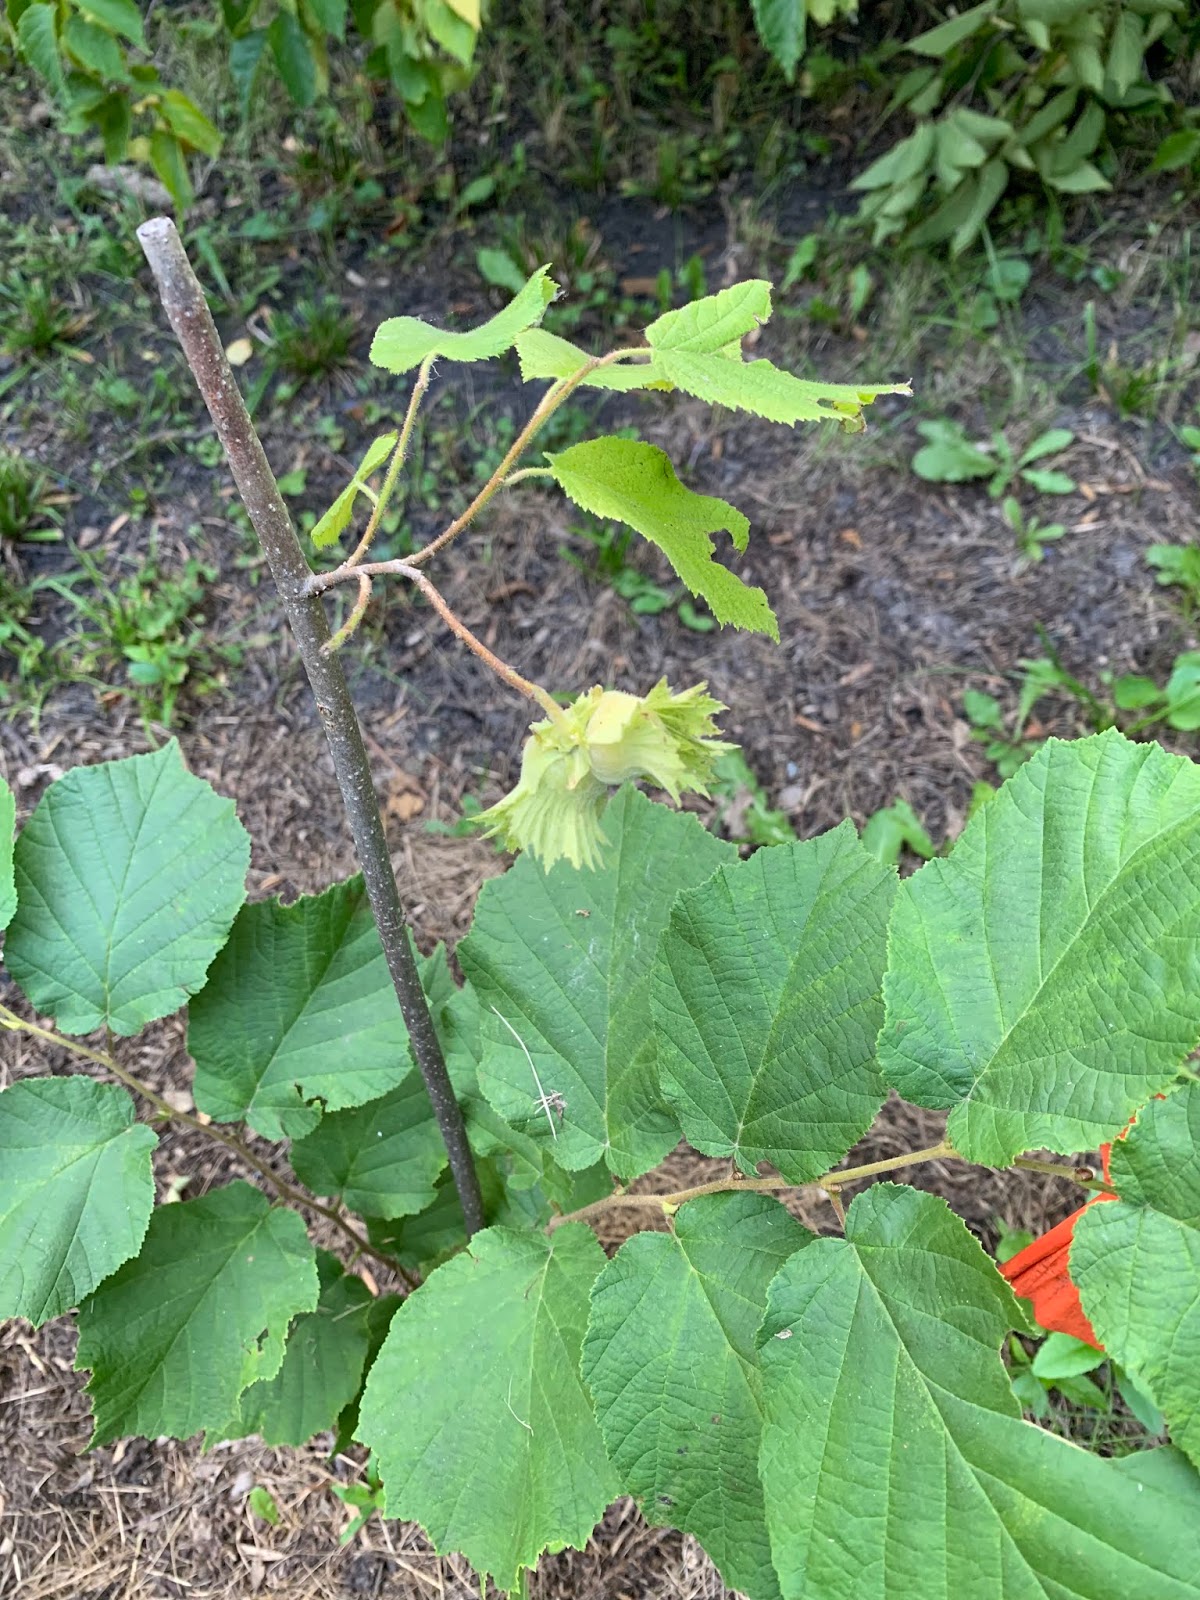
This hazelnut husk has no color change, but it still might be ready.

On this picture I'm checking for a little darkening of the nut.

The next step is to try to roll out the nut with your thumb.

If the nut rolls out easily it is ready to be picked.
I do this in 3 or 4 locations on the plant to make sure the whole plant can be picked.

This is that same plant after all the nut clusters have been removed.
Each of these mature hazelnut plants usually fill a bag like this one.
The next step is drying and removing the husk.

Every one of my plants is a little different, and on this plant the nuts drops out of the husk when ripe. To pick this one I lay a tarp on the ground and just shake the stem letting the nuts fall on the tarp. The biggest problem is not all the nuts are ripe and ready to fall at the same time, so I have to shake the plant every day for a week until all the nuts are gone.


These are pictures of hazelnuts that may look like they are ready to
pick but they are not, because they failed the roll out test.
If they were picked at this time the husk will never release the nut even when dried down.
If they were picked at this time the husk will never release the nut even when dried down.

Another question I'm often asked is "How do you pick the nuts when they are on tall stems which might be over 15 feet?"
Hazelnuts have very flexible stems which can be easily bent down as show above.

I lay down a tarp then bend the stem and shake it. This will drop about half the nut clusters on the tarp and the rest will have to be picked by hand.

The next step is drying down the husk so the nut can be removed.
I first place them on drying racks for a few days and then in mesh bags when the husk is completely dry. After harvest I will run them through a separation and cleaning process.
I first place them on drying racks for a few days and then in mesh bags when the husk is completely dry. After harvest I will run them through a separation and cleaning process.
In this picture you can see how drying down the hazelnuts took over my whole green house.

These are a few that have been cleaned, tagged, and bagged.
Next step evaluation.
Few interesting things this year
I was surprised to see nuts growing on one of my layered clones that I just planted this spring.

While visiting the Aneta Community Orchard, I thought these where my hazelnuts but Bill Miller later informed me that they were from St. Lawrence Nursery and the ones Bill got from me were in a different part of the Orchard.
Bill Miller has done a great with the Community Orchard and if anyone is in the Aneta area they should stop and take a tour of the orchard.

I also visited Greg Krieger's home where he was showing me the nuts on this hazelnut plants that he had purchased from me. We also looked at his many other plants and fruit trees. We enjoyed sampling the fruit from his apple and pear trees.

These are hazelnut clones from green cuttings that Jim Walla propagated.
This is something that I thought couldn't be done but Jim propagated these 15 from one of my superior plants. I'm just amazed at the things he does.
Now it's my job to harden them off and see if they make the winter.

This is my favorite T-shirt that I received on my birthday from my daughter Kelsey.
Thanks Kelsey😏👍

Well, it looks like fall when the wild hazelnut starts to change color.
This plant is my first hazelnut that I planted in 1979 from Albert Lee's farm in Northern Minnesota near Roseau.