Saturday, December 30, 2017

Winter 2017 & Deer

Looking at the orchard from a drone

Taken by Bryce Johnson


After clearing most of the dead elms, buckthorn, and a couple boxelders, it opened up most of the northern part of the area. In the wooden fence on the upper left corner I planted cottonwood, bur oak, silver maple, spruce, black walnut, hazelnut, and amur maple. I'm hoping by next year the trees will start blocking that cold north wind. The fenced in area is where I plant most of the newer hazelnuts plantings. In the lower left hand corner are older plants outside the deer fence, which are subjected to the deer and rabbits.


These are the hazelnut plants outside the fence. The plant on the far left has most of the bark rubbed off from a deer and by spring the rabbits will have eaten off most of the smaller immature stems.


This is a close up of that same plant outside the fence that the deer rubbed the bark off. Most stems like this will leaf out in the spring, but this one will have to be pruned out to help eliminate any diseases that might infected the plant like EFB(Eastern Filbert Blight).  Because hazelnuts are a multistem plant, it will not affect the main plant, but you will loose some nut production.


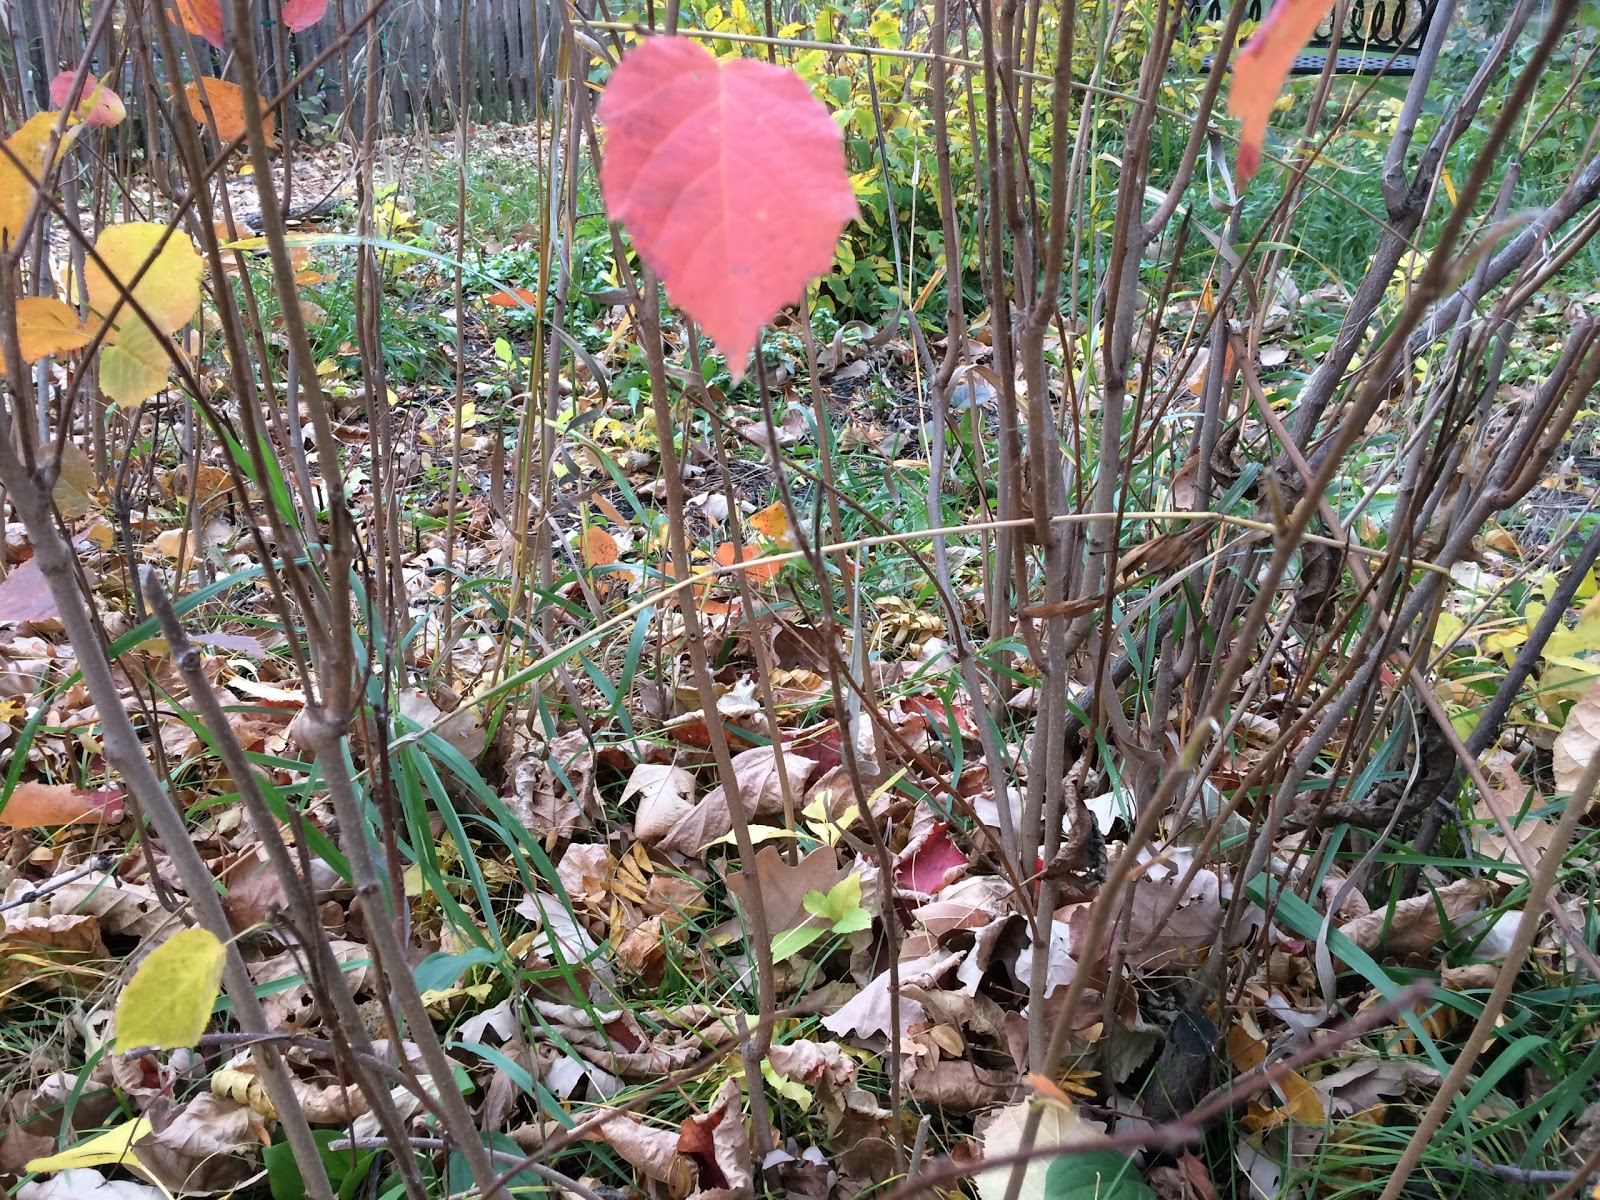
This is another plant outside the fence that the deer decided to rub. I was going to prune this plant next spring down to 4 or 5 stems and he tore up the one stem I planned  on keeping.


This is one more hazelnut plant that was done in by a deer.


These are some of my 3 and 4 year old potted hazelnut plants that I keep behind a fence away from hungry rabbits and  deer.  The plants here are covered with wood chips and snow, so they should be ready for another winter. 


These are the 1 and 2 year old potted hazelnut plants, which should be ready for sale in the spring.


This is my buddy Al (aluminum nut cracking squirrel) who is showing nuts from several different hazelnuts ready to be processed.


The first step in the process is to sort the nuts by size. As you can see Al is inspecting the hoppers under the sorter. The slat spacings on the drum are 1/4 inch on the feed side and 1 inch on the other side.


In this picture Al is watching the drum turning as the nuts fall into the different hoppers.


Al is now inspecting the different sized nuts in the hoppers.


This is the drill powered nut cracker I use for cracking the hazelnuts.
Right above Al's head is the adjustment for the different sized nuts.
I first adjust it to crack the largest nuts, then turn the adjustment 1/4 turn in for each size.
I've found by doing it this way the shell will crack leaving the meats (kernel) whole.


Al is showing us the cracked hazelnuts after they've gone through the cracker.


This is a close-up of the cracked nuts. If you look closely some of the meats are broken.


The next step in the process is separating meats from the shell. I use an aspiration system that I made from PVC pipes, shop vac, and a few 2 inch flex hoses.
In this process the material is sucked up into the first column and the lighter material moves all the way to the top and into the second column, while the heavy meats fall to the bottom of the first column.
Can you find Al in this picture?


In this picture the cracked nuts are being vacuumed up into the first column.


For the best results of separation Al is showing us that a vacuum should be about 11 inches wc


Al is inspecting the clean and separated meats (kernels).


 I placed a ruler in the basket to show the size of the kernels.
If you look close there are a few shells left and one whole nut that will be picked out by hand.


Al is now looking through the shells for whole or broken kernels after they have gone through the aspiration system. 
I was informed by my daughter that they use hazelnut shells for mulch around plants in Oregon. I'll have to try it here around some of my plants


I wanted to show this picture of Nancy and I standing in front of one of the better hazelnut plants.
This is also one of the plants the deer picked to rub off most of the bark on two stems.😠


Saturday, November 4, 2017

FALL COLORS & TREE LIKE HAZEL'S

I'm a little late with posting fall colors, but I wanted to compare it to last years colors.


This hazelnut plant is from the fall of 2016.


This is the same plant from this fall, 2017.  The colors look almost the same, but they could be a little more of an orange color this year. The plant really has a good fall color, but the nuts from this plant are small and bitter.


This is a picture of a wild hazelnut plant in my orchard from 2016.


This is the same wild hazelnut from this fall, 2017. The color this year is a lot more reddish, and it's always the first plant to show fall colors, and was originally from northern Minnesota.


In this part of the hazelnut orchard the leaves have always been more yellow, but this year there are more orange and red colors. The green plant in the center is not a hazelnut but a raspberry patch, and you can also see some of the different sized hazelnut plants. 


The 6 year old plants in this part of the orchard have quite a large variation in colors. The tree with the bright yellow leaves close to the middle right is not a hazelnut, but a buckeye.  I planted the buckeye to try to divert the squirrels away from the hazelnuts, and found that they would not touch the nuts from the buckeye until all the hazelnuts were gone.  That was another good idea gone bad. 👎


This is an interesting picture showing colors and sizes of these two hazelnuts. The smaller red-orange colored plant in front is almost 5 ft tall, while the taller more yellow colored plant in the back ground is over 15 ft tall.  Both plants are the same age and produce a good quality nut, but taller one produces a larger quantity of nuts. 


 Developing a tree-like hazelnut plant


Most wild hazelnuts are a small shrub with suckers. The stems remain small and the plant tends to spread by suckering up from the roots.  These plants tend to be hard to control and manage in a yard or orchard.


I'm trying to develop a plant with a more tree-like structure with one truck. In this picture the 15 year old hybrid hazelnut plant has one main stem with several smaller ones on the sides, and if pruned would have just the one stem. This type would be easily manage in a yard or garden, and could be pruned into tree form.


This might look like one plant but actually its 2 plants that were planted too close together 15 years ago.  The plant on the left has one trunk with one main stem and a couple smaller stems that could be pruned off. The plant on the right also has one trunk with three main stems.  I was going to eliminate one, but both plants produce lots of excellent nuts. Next year I plan on cloning both by layering.


This is another plant that does not sucker and has several stems coming from one main truck. I'm layering this plant, because it is such a heavy producer of large thin shelled nuts,  The hollow plastic container with compost is the layered stem that I'm cloning. This stem will be moved and planted in a new location in the spring.


These are two more hazelnut plants that stay as a tight multi stem shrub, and both are good producing plants. I might have to start pruning some stems to keep the plant more open. Some of these plants have never been pruned in 16 years and I'm finding that the older branches produce smaller nuts. On some older hazelnut orchards they coppice (cut back to the ground) every 10 years, but I'll try pruning some of older branches out to open up some plants next spring.


This is nothing to do with hazelnuts but this was growing out of a Mulberry stump in the hazelnut orchard. It's a mushroom that I've never seen before, but looks very interesting. 


Thursday, September 14, 2017

Harvest & Japaneses Beetles

Hazelnut harvest 2017


It looks like a good year for hazelnuts. I thought the plants might drop some of the nuts due to the dry condition this year, but they came out looking good.


This is a close-up of the hazelnuts in the bag. These aren't the largest nuts that are in the orchard, but this plant produces a large crop every year.


These are ripe hazelnuts ready to be picked, note the slight darkening of the husk. I also check to make sure the nut rolls out of its husk before picking.


On this plant the husk never changes color but the nut will just drop out of the husk when ripe.  To harvest this hazelnut, I just shake plant and the nuts fall on a tarp. The plant is difficult to harvest because not all the nuts are ripe and will not drop at the same time.


This is some of the drying racks to dry down the husk before they are separated.  The hazelnuts on this drying rack are from one plant.


In picture the husk is dried down enough to go through the separation process. 


This is the final product bagged and tagged. The nuts are kept in these bags for about 3 weeks to dry them down for the taste test.   If the nuts fail the taste and size test, that plant will be eliminated.


These are some of the various sizes that were picked this year.
Which one would you remove from the orchard?


Here I am in the hazelnut orchard with my new fruit picking bag that I received on by birthday. It's been really helpful, thanks Kelsey.👍


I still have lots of 2 and 3 year plants for sale. 
If interested contact me at Riverbendhazelnuts@gmail.com or at 701-361-8581

Beetle Destruction


These next group of pictures was sent to me from my son's home in Lino Lakes MN showing the damage from Japanese beetles on hazelnuts.


The beetles look like they just eat the outer most leaves.


They tend to destroy just the leaves and leave the husk and nut.  It'll make it easier to find and pick the nuts, but the kernel might not fill out.  I will have to find out what shape the nut is in after it has been picked and dried down.


In this picture the husk and nut look in good shape.


The lower leaves and nuts look good.


If these plants are defoliated every year it may cause reduced nut production.
This is something I do not want to happen here in North Dakota!!