Friday, August 2, 2019

Squirrel devastation


Squirrels have started removing the hazelnuts on 19th of July. This is the earliest that I've ever seen them go after immature hazelnuts.
I have 5 live traps and 4 rat traps and started using my pepper spray.  In less then a week I removed 11 squirrels.


I've even seen the smaller red squirrels hanging from the branches eating the unripe nuts.


The larger grey squirrels finish off the ones that fall on the ground.


This is what it looked like the first day that I noticed the problem.


The next day really took me by surprise and I thought this may be really serious, so I mixed up my pepper spray and bought some more traps.


This is the pepper spray recipe I use for my squirrel deterrent, but now I started adding 4 cloves of garlic with the peppers in the food processor.


Hot Pepper Spray for Squirrel Deterrent 

(WEAR GLOVES! Goggles aren't a bad idea either)

Red Cayenne, Jalapeno, or habanero fresh peppers (cayenne for stronger mix)

Put 3 Peppers in a food processor with enough water to make a liquid.
Strain through cheesecloth into a quart jar
Add 2 tablespoons Olive/Vegetable oil
Squirt of Elmer's glue
2 drops liquid dish-soap

Use 1 part of mixture to 10 parts water

Shake well
Spray on plant with spray bottle.

(Don't make it any strong then 30%)
Be careful not to get this in your eyes.


The new crop of hazelnuts 


This is some of the new crop protected by the pepper spray.


This is a large leafy hazelnut husk that usually matures the end of September.
I'll have to spray once a week to keep the squirrels off this plant.


This is another one of my better plants that ripens around August 18th.


On this plant the nut tends to drop out of the husk in the first week of September.


This is another one of the better plant that will have to spay to keep the squirrels away.
I just noticed a weevil hole on the husk which I've circled. Just one more pest to deal with.


This plant has a large juicy husk that squirrels do not like, but the nut is also hard to remove when ripe.


This is another one that squirrels tend to not like.


This is one that squirrels really tend to go for so I'll have to spray this one.


This is not one of my better plants, but I like the unusual look of the husk.


Field day at the Carrington REC


During the field day at Carrington REC, Kathy Wiederholt showed a row of my hazelnuts that they are testing in their  hardy fruit evaluation project.


This is a close up of some of the developing nuts at Carrington REC.


This hazelnut plant that Kathy showed here has very large clusters of nuts. 
It looked like there might be 8 or more nuts in each cluster, which some times makes it hard to remove the nuts from the husk. I prefer no more then 4 nuts in a cluster.


This is another type of hazelnut in the same row, which just has singles and no more then 2 in each cluster. This type of plant is usually easier to remove the nut from the husk.

I would like to thank Kathy Wiederholt, fruit project manager in Carrington, for doing such a great job evaluating all the different types of hardy fruits that will grow in this area.

Friday, June 28, 2019

New Greenhouse & New Crop for 2019

The new greenhouse😎


The greenhouse arrived in a truck and had to be unloaded by hand, because the load on the pallet was a little unstable.  
I'm anxious to start using the greenhouse to dry the hazelnuts this fall and to use it to start new seedlings in the spring. 
I might even be able to keep my tomatoes growing until December.


Unloading went fast, but now its time to identify all the different parts.


Assembling all the parts was supposed to take a day, but it took us a week.
I would like to thank everyone for their help.


 This years crop, 2019


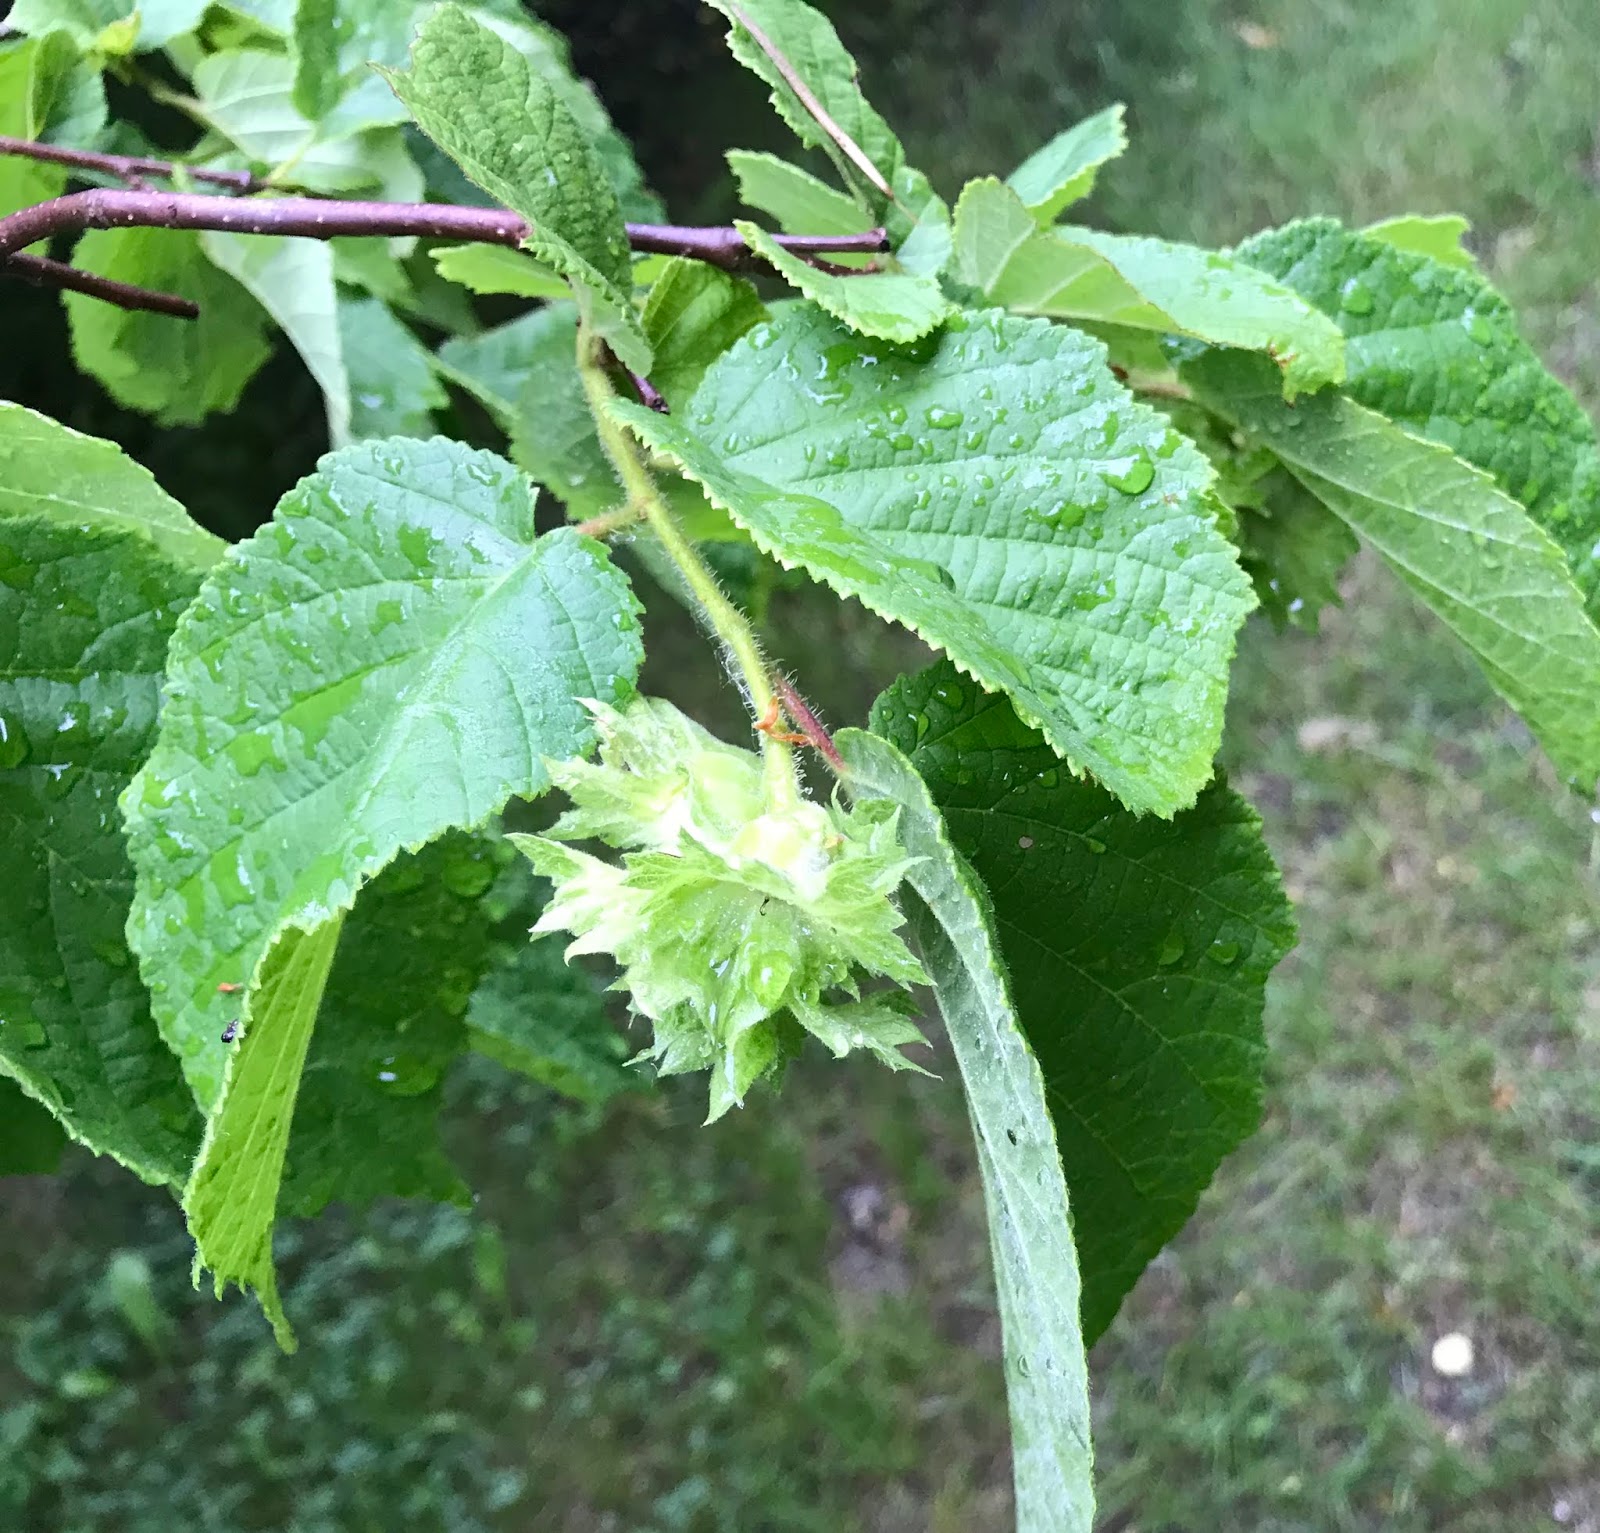
The new nuts look like small green flowers at this point.
I do not really know how large this years crop is, because they match the green foliage so well.


There are quite a few new hazelnuts on this picture. Can you find them, look hard.


Some of the good traits I'm looking for are 4 nuts in each cluster, as shown here in this picture.


Some cluster have as many as 8 or more nuts.
These larger clusters always produce smaller sized nuts that are hard to remove from the husk.
Some plants just produce a single nut that has a larger size, but the quantity of fruit per plant is low.
I try to propagate plants that have 2 to 4 nuts in each cluster.


This plant shown here will only have one or two nuts in each cluster.


This one has a cluster of 5 nuts. I thought of eliminating this plant, but it produces a nice crop of medium sized good tasting nuts every year.


This is a cluster of nuts is from a Beaked Hazelnut (Corylus corneta).
I had to hand pollinate this plant because it flowers a week later then the hybrid hazelnuts.
The nuts here will be a cross between Beaked and my hybrid hazelnuts.
The beaked hazels are smaller nut with a very thin shell. I crossed it with a hybrid that produces large nuts in hopes of getting a larger thinner shell nut.


I also hand pollinate several other hazels to produce a larger better tasting nut.
I flagged this branch to indicate that it was bagged this spring and hand pollinated. 


I'm also cloning plants using the layering method. This particular plant takes 2 years to clone. I've have a fence around the plants so the deer and rabbits won't clip the new plants off.


Over the years I've tried grafting hazelnut plants, but was unsuccessful.
This year I tried it again and this might my first successful graft.


These plants are hand pollinated 3 years old hybrid hazels about 4 feet high and should have a few nuts this year.  They did flower this spring, but I've only found just a few nuts starting. Next year they should produce much larger crop.
The Black Walnut in the back ground was planted the same time as the hazels.
I want to find out if the Black Walnut affects the growth of the hazelnut plants. So far I don't see any difference in the growth of the plants by the Black Walnut.


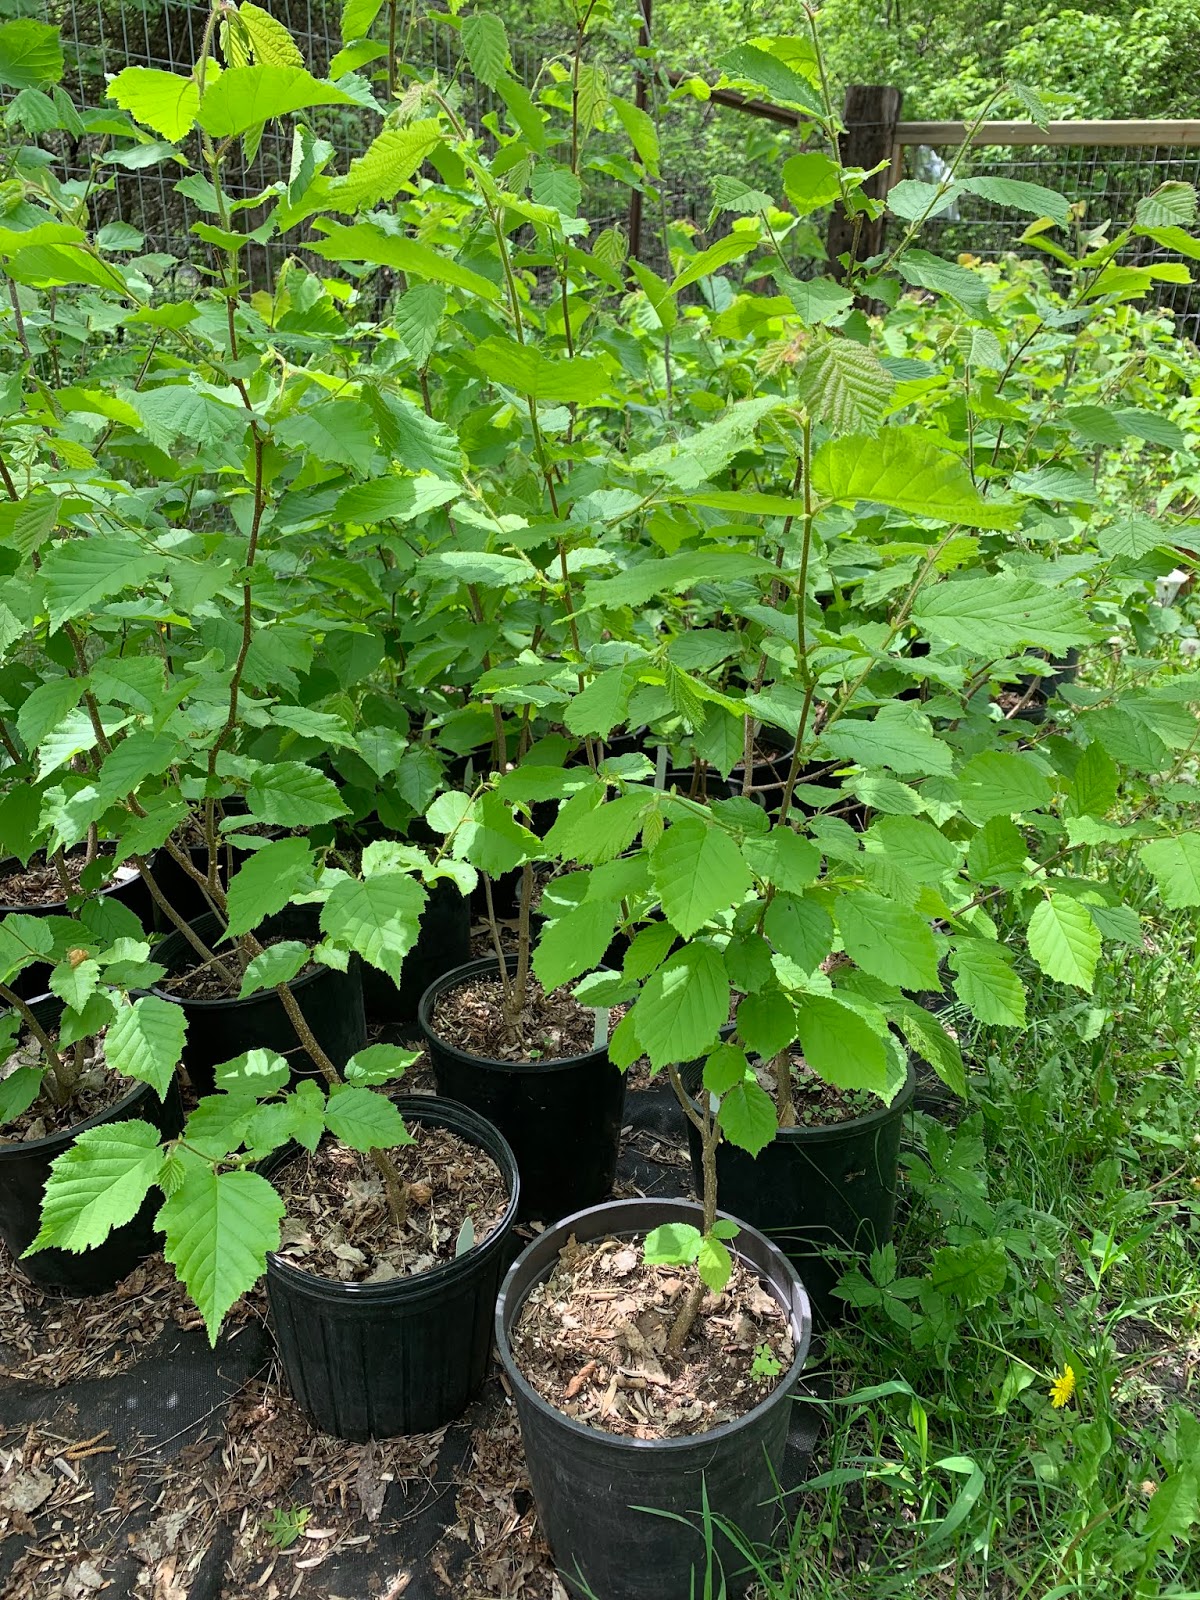
I still have lots of seedling left for sale.
This year people are buying more of the older plants.


The 1, 2, & 4 year old plants are all sold out, but I do have a few 3 year old plants left for sale.


Wednesday, April 3, 2019

2019-Growing Hazelnuts

Germinating hazelnuts


The first step for growing new plants is evaluating each hazelnut seed for various characteristics such as good taste, thin shell, round shape, ease of cracking and separating the shells, and type of plant that  produced the nut, such as non-suckering.


After evaluating each one the superior hazelnut seed is then stratified (a period of cold temperatures), which is needed in the germination process. 
The first step in the stratification process is to soak the nut for 12 to 24 hours to rehydrate the nut and remove any empty nuts that are floating on top of the water.  They are then put in plastic zip lock bags with damp peat moss. The peat helps reduce mold and fungus from growing.
The nuts need at least 4 weeks of temperatures between 34ΒΊ F - 40ΒΊ F to germinate. If the temperature falls below 32ΒΊ F the stratification period stops.
I usually refrigerate the nuts starting the last week in December and remove them in March.
This is the first year I've had some of my new varieties germinate in the fridge in February, which is very unusual for hazelnuts. I'm hoping it's a new hardier variety.


The hazelnut seeds are removed from the fridge and soaked in 80ΒΊ F water with a weak bleach solution for 5 minutes, and placed between damp paper towels in plastic trays.
For the hazelnut seeds to germinate the temp must be above 50ΒΊ F.
I try to maintain a temp between 65ΒΊ F to 70ΒΊ F.


In 2 to 3 days the shell will crack and the radicle will begin to appear.
They are then planted slightly under the soil in tubes with the radicle pointing down.


In 5 to 10 days the stem (hypocotyl) will begin to appear in the tubes. 
At this time the temp is lowered to 60ΒΊ F.


The plants here are now 2 weeks old and have their primary leaves.
At this period a small fan is used during the day to produce a thicker shorter stem.


This plants here are 2 months old and at this time they are gradually moved outside.
Not this year yet with all the snow and cold temps.


Hazelnuts 2019


The 3 year hazelnut plants here are just starting to show under the melting snow.
These plants were covered in leaves last fall in anticipation of little or no snow.


With the high snow cover the rabbits were able to hop over the 4 ft fence.
In this picture of the 4 yr hazelnuts you can see the rabbit damage on the top of the plants which indicates how high the snow had been.


These are the 4 year old hand pollinated hazelnuts in the orchard.
I'm hoping some will produce nuts  this year.
Last year at this time the plants were flowering and leafing out.


Here we have some of the older plants that are under water.
In some years they've been like this for at least 2 weeks.


Hazelnuts plants ready for sale.
If your interested contact me at,
riverbendhazelnuts@gmail.com


Thursday, December 20, 2018

Hazelnut storage


Storage and care of hazelnuts

Hazelnuts have a high oil content, usually between 20% and 50% and when exposed to air (oxygen) they will become rancid in just a few weeks. They should be kept in a  cool dry place and if shelled eaten as soon as possible or stored in the freezer.


The first step is to pick the hazelnuts when they are ripe. If the nut is picked too early the husk will never release the nut even when dried down and nuts that are picked too late will be taken by squirrels and a dozen other animals. The best time is when the nut rolls easily out of the husk.  This test should be done on 2 or 3 different places on the plant.


They are then stored in bags until I place them on the drying racks. This usually takes about 3 days. If  I still have no room on the drying racks after a couple days I will put them in mesh bags. They need some type of air flow to dry down or they will become moldy if left in any type of enclosed bag.
The plant you see in the background was beat up by a buck last week.
I'll show more of that later.


Drying down the husk is the next step. This takes about a week. If they are dried down too fast the nut will crack and kernel will become rancid in 2 or 3 weeks.


When the husks are dry enough they are placed in a bucket and I use a drill with a paint mixer and 2 added weights to separate the nuts from the husk.


I then use the aspiration system you see above to your left to separate the nuts from the husks.


The nuts are placed in mesh bags and are stored  a cool dry place (refrigerater) until they are shelled. They will last about 3 months in the fridge before becoming rancid.  When stored in a freezer 
they will remain in good condition for up to a year. The sealed bags below are the nuts I'm stratifying in peat for my next years seedlings that I'll germinate in March.


I next separate the nuts into 10 different sizes to make it easier to run them through the nut cracker.


This is my drill cracker that I use to crack the hazelnuts. I start by cracking the larger nuts and then adjust it a little smaller for each of the 10 different sizes. I do this to try to obtain a whole kernel after the nut cracks.


Here you can see the cracked shells and kernels as I start to run them though the aspiration system.


This is my shop vac aspiration system that I use to remove the shells from the kernels.
This is also the same one I use for separating the nuts from the husks.


After the shells have been removed I place them in sealed bags.


The bags are then placed in the freezer next to the lefse.
The shelled meats (kernels) will last up to 3 months in the freezer in sealed bags. I have left them in the freezer for 6 months and they where still in fair shape.
We try to use them as soon as possible for making hazelnut butter, granola, candied nuts, roasted, and  raw on my cereal in the morning.
If you like roasted hazelnuts without burning them, the kernels should be roasted for 5 to 10 minutes at 350ΒΊ F.  The smaller kernels are roasted for no more then 5 minutes or they will taste burnt. 


A buck deer has been at it again πŸ˜¬


I noticed a buck starting to rub off the bark on one stem.


The next day I went out to put a cage around the plant and found this. I did put the cage up but it was a little late.


This is that same hazelnut plant looking at it from the other side.


In search of hazelnuts


I've found hazelnuts in many locations around North Dakota, Minnesota and many other states.
The plants here were found south of Kathryn, ND along a creek flowing into the Sheyenne River.


These hazelnut plants where located near Pequot Lakes, MN.


We toured this hazelnut orchard in Oregon. 


The hazelnut here I found in southern Tasmania.


This one I found in Vancouver growing next to a sidewalk when out for a walk.


Kathy Wiederholt has these hazelnuts growing in Carrington at the CREC hardy fruit evaluation project.
Kathy does a great job evaluating plants for North Dakota.
Don't miss their field day.