Saturday, September 3, 2016

Hazelnut Harvest 2016


Early Harvest


I'm finally posting an update about harvest. It has been a hectic summer, finishing the fencing for the new planting area, planting a row of seeds in an open field, potting up the new seedlings, harvest, and of course vacation. Most of these seem to happen at the same time.

This years harvest started on the August 8. That's 3 days earlier then last year and over a week earlier then the average harvest.
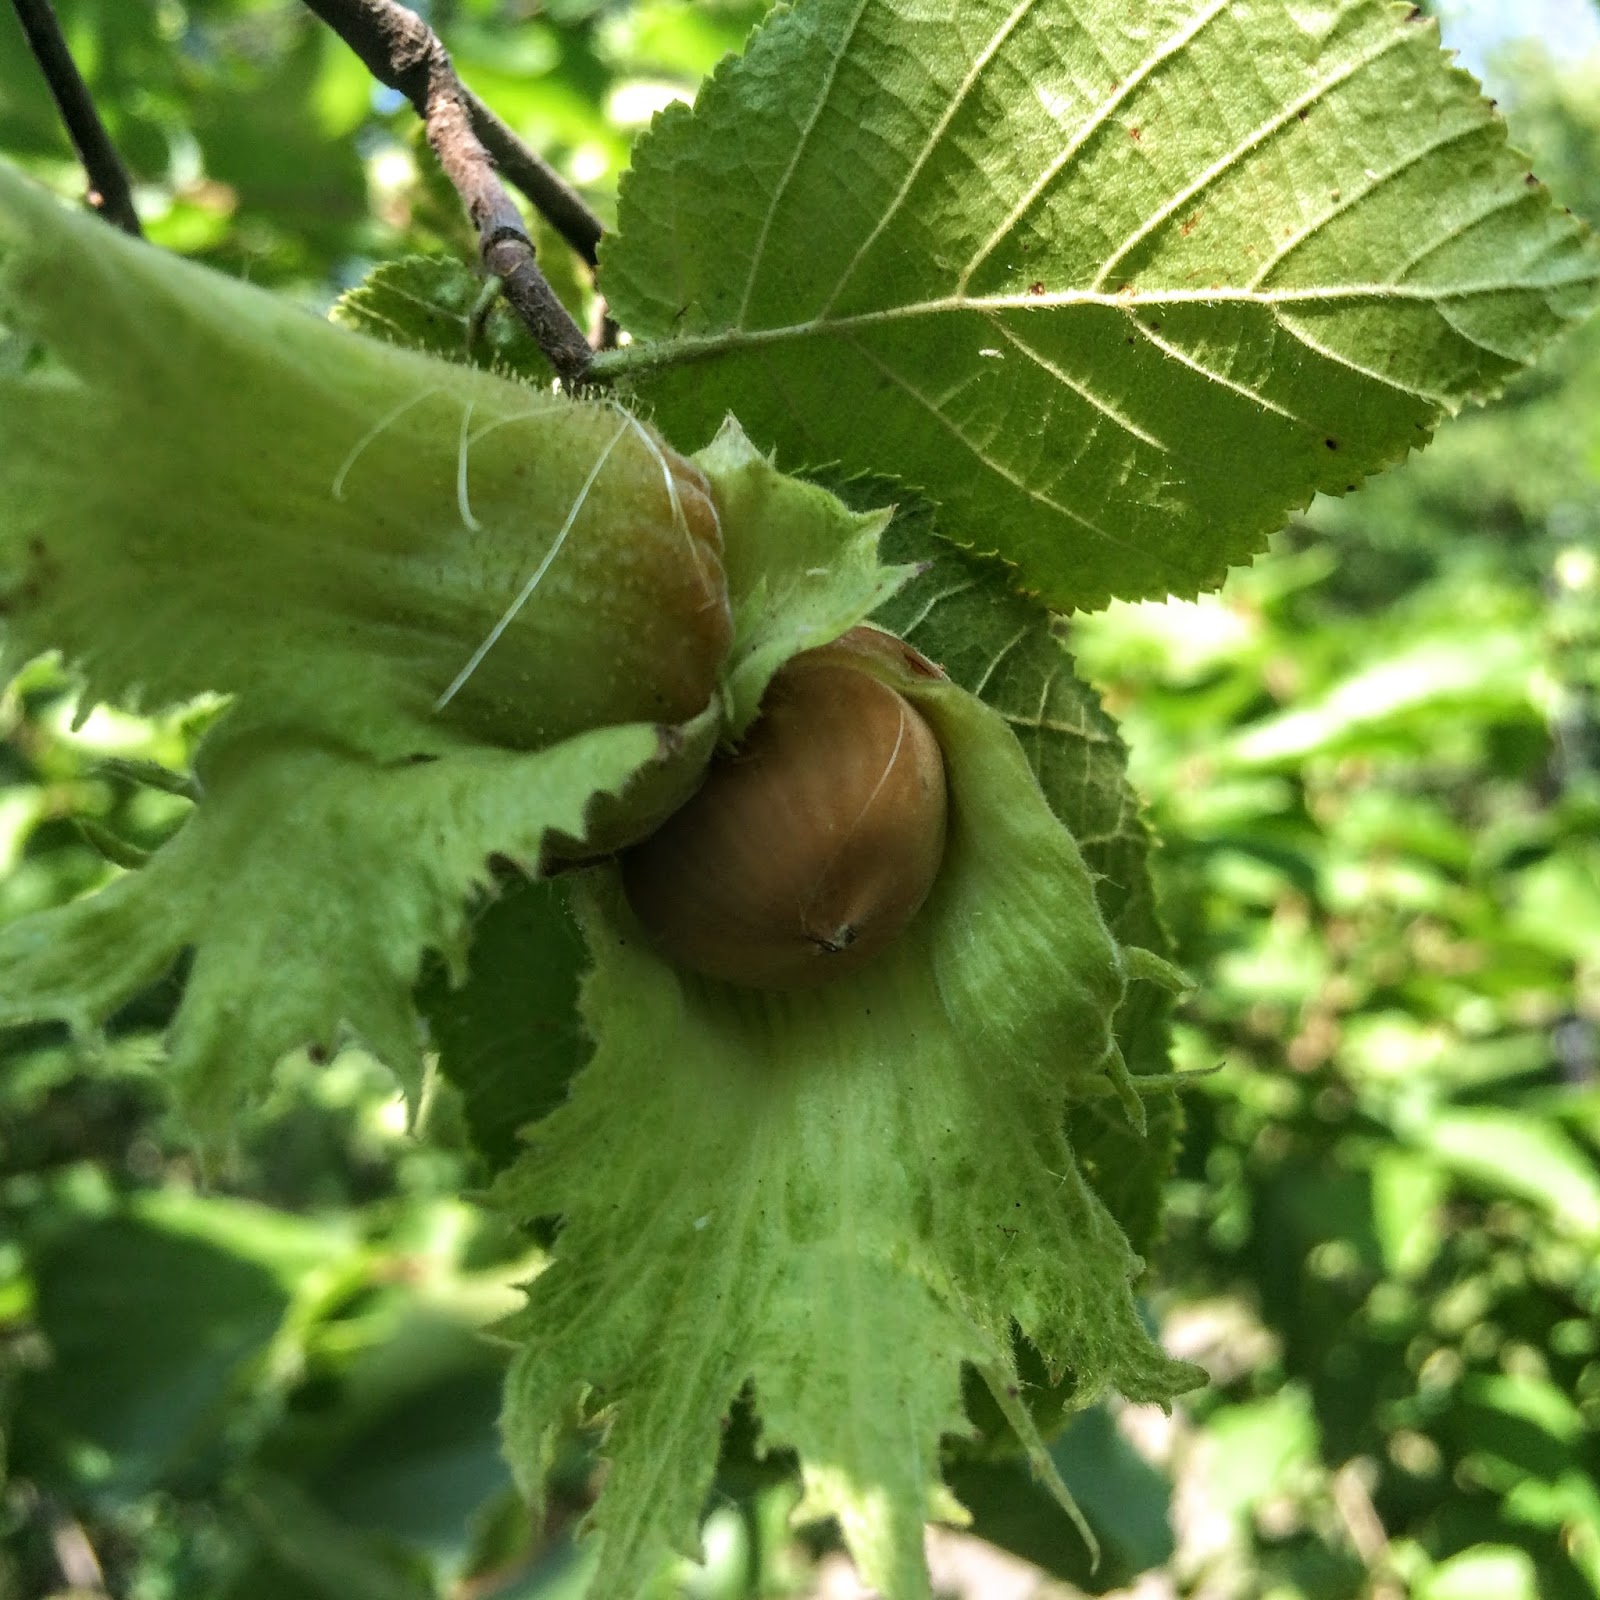


This year we had some unusual husks. The husk usually encloses the whole nut, but half of the husk is missing. I think this was due to the late hard frost (26ºF) we had this spring when the hazelnuts were flowering. The hard frost might also be the cause of the low number of nuts on most plants. 


This is another picture of deformed husks from a different plant.


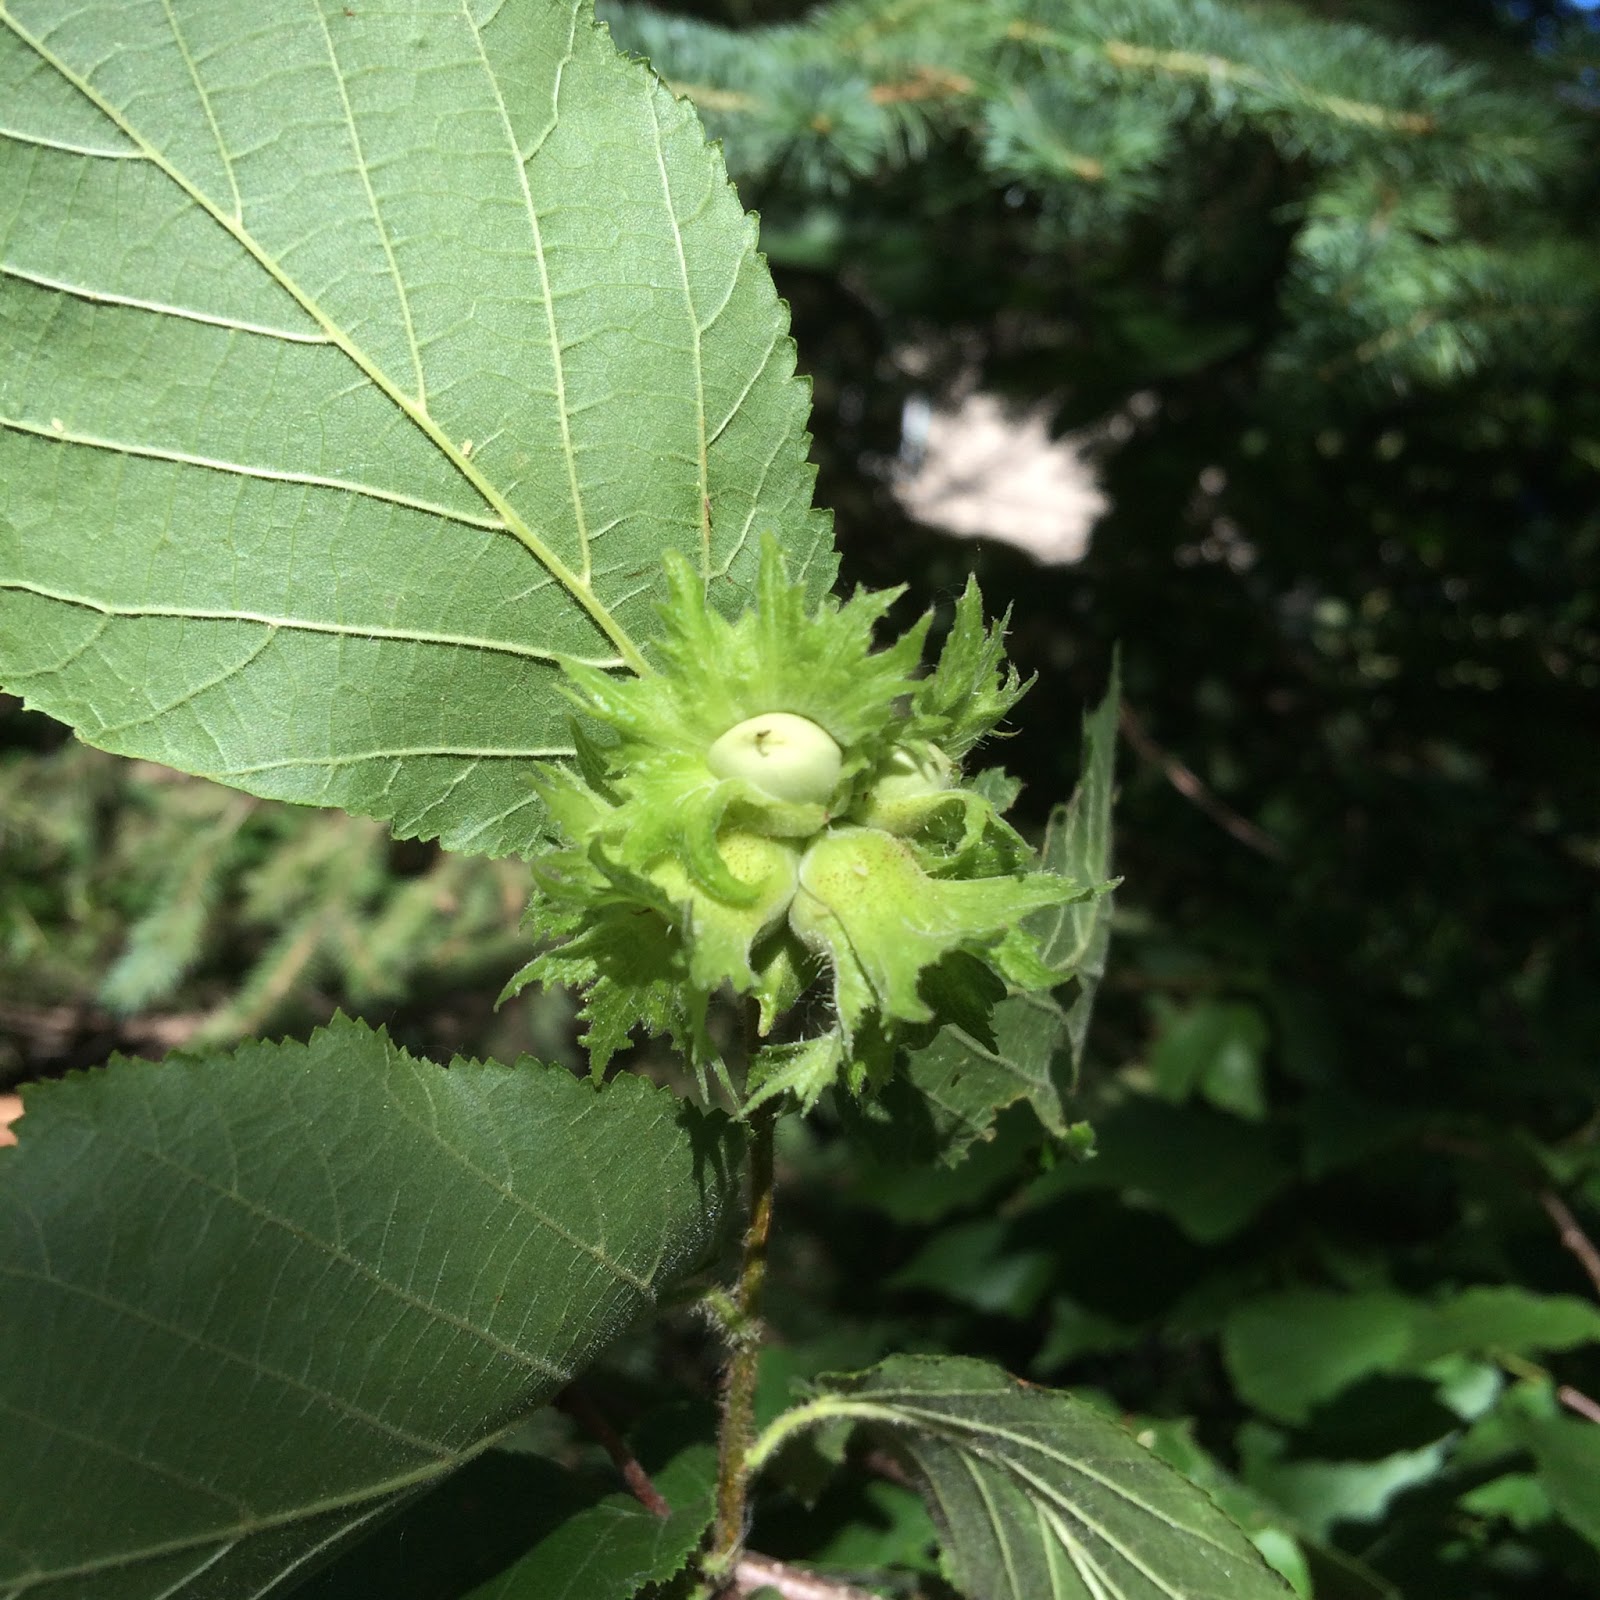
This is a normal husk, but this plant flowers a little later the others, and it's also in an area that's a little more protected from a frost. 


When do you pick the nuts? Most think the color will determine when to pick the nut or when the nuts fall out. I've found that if you wait that long the squirrels would have removed most of the crop.


I pick the nut when the abscission layer forms between the husk and the nut. To find out if this layer has formed I roll back the husk and press with my thumb. If the nut pops out they can be picked. Not all nuts ripen at the same time on each plant, so I check in several locations.


Here I've just checked a couple places, usually close to the bottom and on the top. Both were easily removed from the husk. I then remove all the hazelnuts from that plant and I'm ahead of the squirrels  most of the time!


While on our vacation to Alaska we stopped in Vancouver for a day and I just had to check out their  hazelnut crop. I just hope they didn't mind me going through their yards! Most were the European Filbert (Corylus Avellana) or a close relative. I sure wanted to take some with me but I don't think they would have made it through customs. They probably wouldn't have survived a North Dakota winter.


 Major squirrel damage this year, probably due to lack of other natural food, such as acorns, ash seeds, black walnuts, plums, and apples. All of these plants just happened to be flowering and leafing out during the late hard frost. The temperature was 26º F most of the night. I also was on vacation for 2 weeks and unable to use my hot pepper spray. ( see August 17, 2012 post for the recipe)


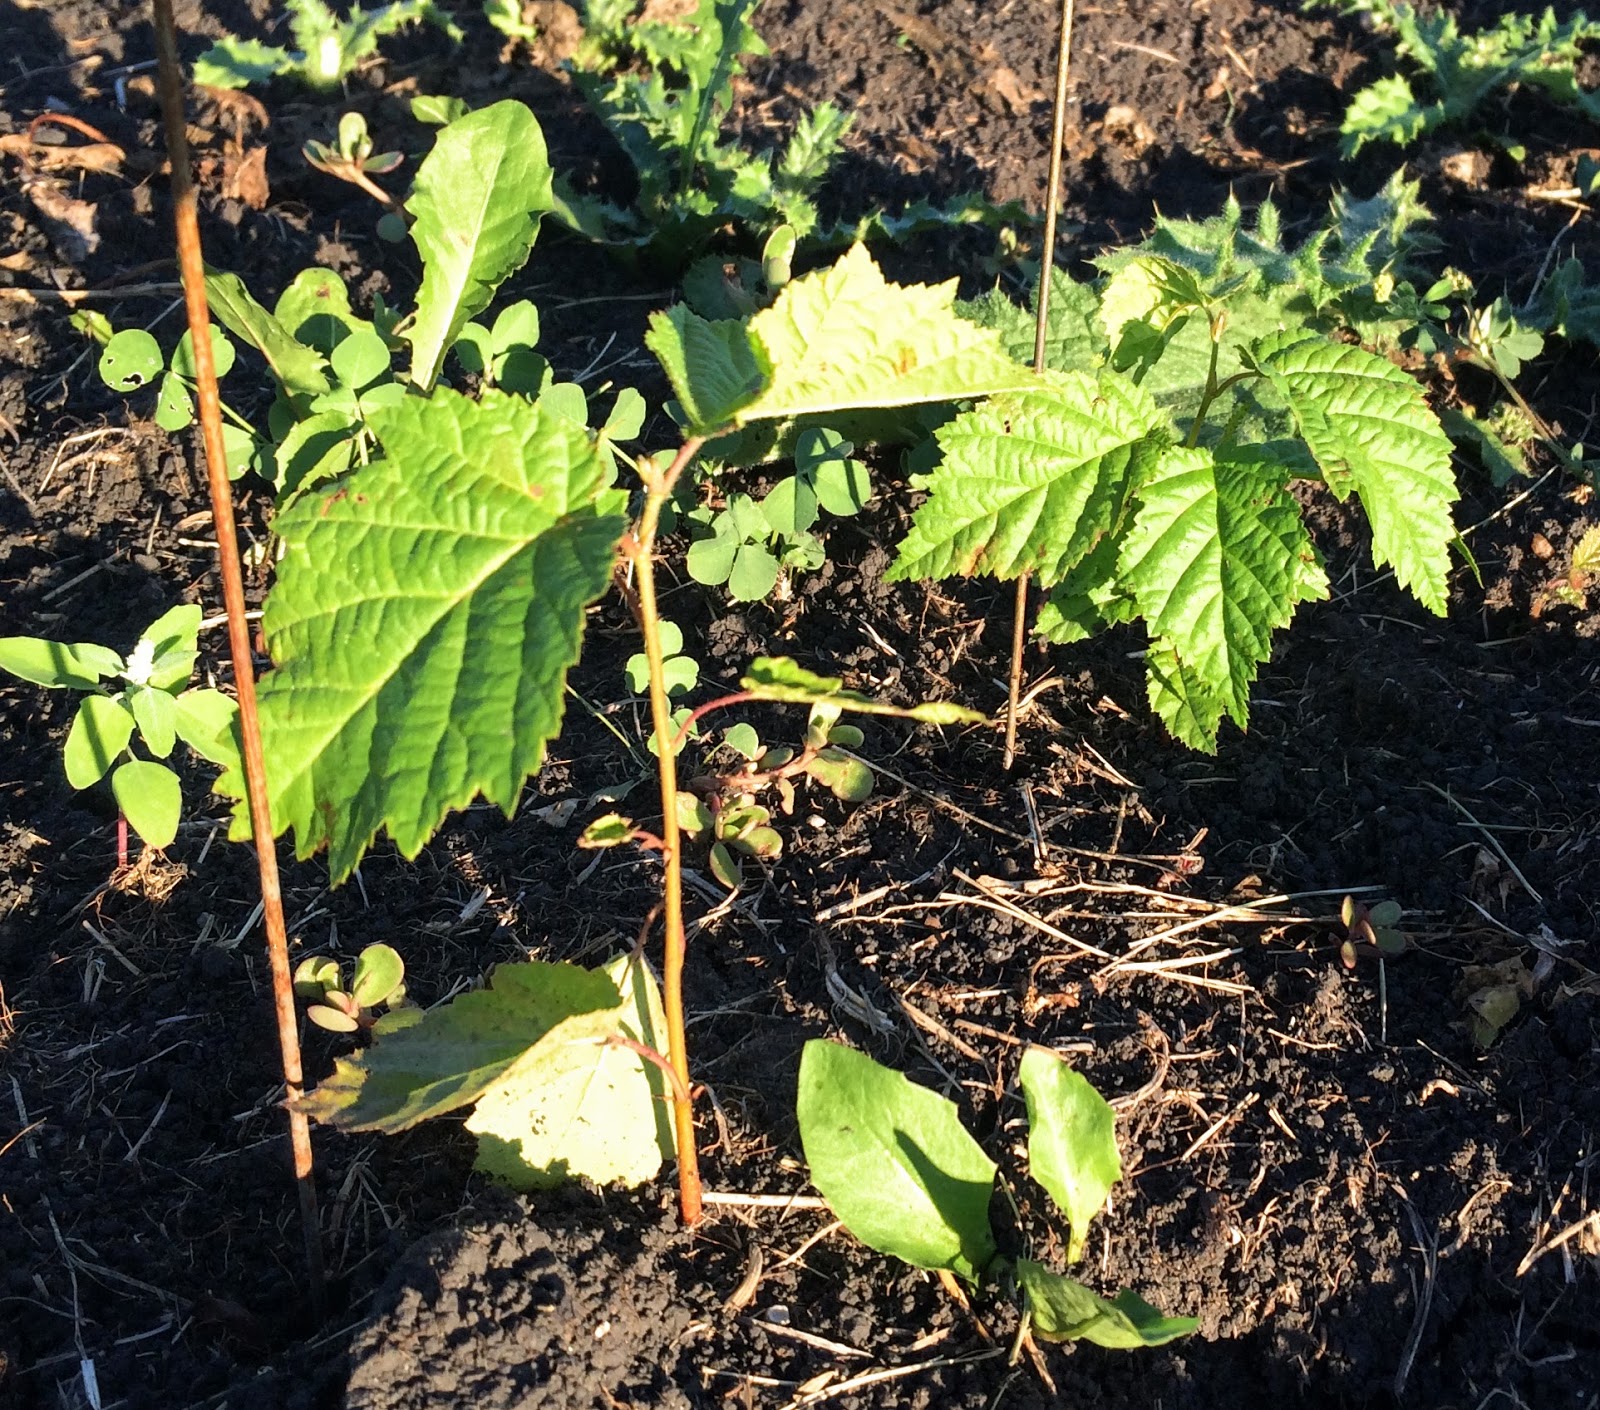
This spring I planted a row of hazelnuts in an open field to see how many would germinate. The hazelnuts were stratified in a refrigerator for the winter to eliminate rodents from removing the nuts. I had about a 40% that germinated, but lost quite a few during the dry spring. I also had to put cages around  the plants to keep the rabbits and deer from clipping them off. 


These seedlings came up on June 6 after a good ran. They are about 3 to 4 inch high and have about 4 leaves. Most look in good shape, but some look like they need a little moisture to make it through the winter.


These are plants I've started inside. The one on the right is a seedling from this year which is about 12 inches tall with 8 leaves. The plant here is over a year ahead of the ones planted in the field and will produce nuts earlier.

The three plants starting from the left are 2 year old, 1 year old, and a seedling started in March.

If your interested in purchasing these or looking at a mature hazelnut plant, contact me at riverbendhazelnuts@gmail.com or call 701-361-8581.




Saturday, June 25, 2016

Birkemier Farms tour

We were in Oregon for my daughter's graduation. Kelsey helped arranged a tour of Birkemier Farms, a large hazelnut orchard and nursery.  


Thanks Dr. Kelsey Sondreli. 


Loren Berkemier in the brown shirt gave us a very interesting tour of their hazelnut nursery.  He showed us the different types of cultivars that they are propagating. Loren informed us that they receive new introductions from Oregon State University Hazelnut Breeding Progam to test and propagate. Their main concern is resistance to Eastern Filbert Blight, which has affected a lot of their better hazelnut cultivars.


They do most of their propagation using a cloning method called layering. Layering is tying off the new immature hazelnut shoots and then adding a foot of compost for root development.  They can produce 4 to 6 from each layered plant. 


As you can see here they have many layered plants. Plants can also be propagated by tissue cultures done at a lab. The tissue culture "plugs" are then planted at the nursery.  The layered plants produce nuts in just a couple years whereas the plants started via tissue cultures take 4 to 5 years.


This cultivar has just been planted and will be layered next year. 


There hazelnuts are about 3 months ahead of the ones I raise in North Dakota.


This is the new hazelnuts in my orchard.


These hazelnut clusters are a wild varity from northern Minnesota. In this picture you can see the husk is very thick and encloses the nut.  This makes it hard to dry down and remove the nut.


This hybrid cultivar here has only a single nut, but it is easily removed from the husk.


This hybrid plant has a large cluster of nuts that are easily removed from the husk and will fall to the ground when ripe.


This cultivar also has large clusters with larger nuts that are easily removed.


Here you can see a mature hazelnut orchard in Oregon. The small tree at the right was planted to replace a plant that affected by EFB. The ground is very flat and was being graded while we were there. This is done to allow a mechanical sweeper to pick up the nuts when they fall to the ground.


Loren gave a fantastic tour and was very informative. With this new information I'll be doing a lot more cloning by layering of my best plants, but still breeding for a better hazelnut.
The Birkemier Farms link is http://www.growinghazelnuts.com


The Berkemier Farms also are testing Honeyberries (Haskap) at their nursery. 
The berries were ripe and very good!
They may start propagating next year for the Oregon area.


I had to put this picture of Nancy and me with the new Doctor of Botany and Plant Pathology.
Good luck Kelsey!


Saturday, April 2, 2016

Spring Clean-up & Pollination

This year's spring clean up mostly involves cutting down the unwanted hazelnut plants.


Here I am cutting down about 102 inferior hazelnuts before they can pollinate the rest of the orchard.


The picture here is from the rabbits pruning the higher quality plants.

This is something I don't really appreciate!


Hazelnuts are monoecious wind pollinated species that flowers in March.
The next pictures show the male (catkins) and female (stigmas) flowers


These are the catkins (male flowers) that form in the fall and produce the pollen in the early spring.
This also helps in identifying hazelnuts during the winter and spring in any location.


This is a close up of a typical catkin before it begins to elongate.


In this picture the catkin has grown to twice its length, and is about to release the pollen.


To hand pollinate hazelnuts I first collect the catkins, and spread them out on clean white paper in a warm room and leave overnight. The next day I shake the catkins to extract the rest of the pollen.


I remove the catkins from the paper, fold, and pour the pollen into a small plastic vial.


Here are the vials from some of the best selected plants.


This is the tiny red female (stigmas) flower on the end of the bud.
To hand pollinate these flowers I place a fingertip over the inverted vial to coat the end of the finger.
Then carefully touch the stigmas and coat it with a light coating of pollen.


Part of the hand pollinating process in the spring is to remove the catkins from the plant that you have selected for the breeding program and cover with a bag.
Right after a rain or when most of the pollen has been released from the catkins I remove the bag, hand pollinate the stigmas, and place the bag back over the plant.


Riverbend Hazelnut improvement program
  1. In the breeding efforts maintain large diverse populations of genetic resources.
  2. During open pollination, inferior genotypes are naturally eliminated by harsh climate of North Dakota, culling, and the presence of EFB.
  3. Superior seedlings are identified and nuts harvested to plant successive generations, which then undergo similar evaluations.
  4. Nut evaluations are good taste, thinner shell, larger nuts, higher kernel percentage, and those that fall from the husk on maturity or easily removed form the husk on maturity.
  5. Plant evaluations are non-suckering growth habit, extreme cold hardiness, early maturity, seedling precocity, disease and pest resistance, and tolerance to various stress (dry, wet, and soil ph).
  6. Some traits that may help in selling the plants are red leaf color, leaf shape, growth habit, and the shape of the husk during the summer.
  7. My hope is to increase the potential for the usefulness of hazelnuts in this area.
  8. Cloning and controlled crosses are next.


Saturday, March 26, 2016

Growing Hazelnuts from seed in 2016 & Plants for Sale

Growing hazelnuts from seed is fairly easy. The process involves stratifying (cold period) and germinating the seed.


There is an easier way to grow hazelnuts from seed.  Plant the nuts in garden rows in the fall. They will germinate the first week of June. They can be moved to a permanent location in the fall right after leaf drop or in the following early spring. I've done this and lost most to squirrels, chipmunks, mice and would you believe raccoons too! You must protect them when outside!


I prefer to use this method to stratify and germinate hazelnuts.

Soak the nut in water for 12 to 24 hours to rehydrate the nut. I usually soak the nuts for about 16 hours. Then pack in plastic bags in slightly moistened (not wet) peat moss. I use peat moss because it inhibits mold and fungus. I have used damp paper towels, but lost most to mold.
This year I'm trying a hot-water seed treatment for disinfecting the surface in which I might not need the peat moss. My thanks goes to Scott Pahl of Germains seed technology.


I then stratify in the fridge at 34º F to 40º F for 4 weeks or up to 4 months. If the temp is below freezing the stratification time stops.


Remove from refrigeration and soak in 80º F water for 10 minutes and place the nuts between damp paper towels in a plastic container. Try to keep the nuts slightly separated. During this period I keep the nuts at room temperature. They will not germinate if below 50º F.


These are some of the plastic containers I use. There are about 50 nuts in each container.
I usually start this process in the first or second week in March.


In 2 to 4 days the shell will crack and the radicle will appear. I then place the germinated nuts in 6 to 8 inch deep pots with a well drained potting mix or sometimes use a mix 50/50 with sand, and that seems to work. I did this because I was low on the potting mix.

I have planted directly into the garden right after refrigeration if the soil temp is around 50*F, and that works. Remember to protect the nuts. I plant to a depth of 1 inch out side, and 1/4 inch in the pots


In this picture the hazelnuts are 5 days from removal of cold storage.


The plants here are now 10 days old, and almost all have their major leaves.
From middle of April to the beginning of May I gradually move them outside.

I have over planted again this year, and do not have room for so many plants, so I will have seedlings for sale this year.  I also have about 100 one year old plants for sale.


Thursday, February 11, 2016

A winter birds eye view from a drone

The drone pictures of the hazelnut orchard are taken by Bryce Johnson


The hazelnuts are located in 3 rows along the river by the spruce trees. We've had to fence off these due to beaver damage. If you look closely at one of the spruce trees it has almost no needles due to a needle cast disease. 


The older hazelnuts, which are over 10 feet tall, can be seen between the large ash trees, but there are over 50 smaller plants located in the open area to the left along the fence.


This area has just been cleared of dead elms, buckthorn, and other brush for a hazelnut planting this spring. You can also see Bryce in the red coat, who is controlling the drone. In the background is a fence made of elm trees, and in the center is a dead ash tree that was struck by lighting. This ash is an excellent perch for hungry hawks and eagles. Squirrels and rabbits beware!


On this picture the gate, fence, and grape trellis can be seen, but the hazelnuts here are over 15ft tall and have almost a single trunk.  The nuts from some these will be used for planting the next generation of hazelnuts, and we might have a better nut for North Dakota. 


The hazelnut in the left side of the picture is good tasting, heavy producing cultivar with one trunk. The next step is cloning these good cultivars.


In this sunset picture can you find Bryce by the ash tree?